If you don't see what your looking for call / text 647-219-1714
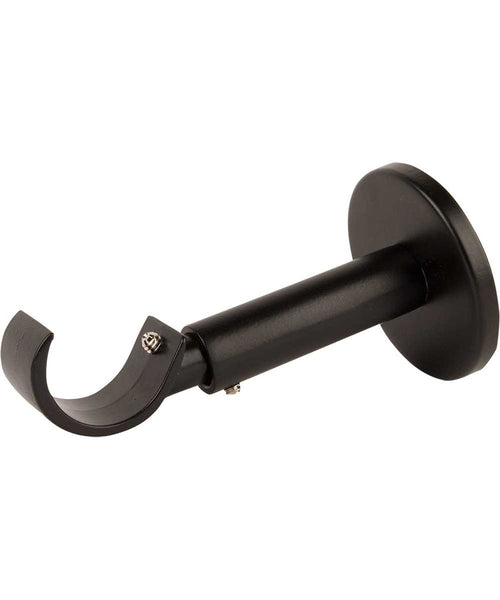
use these adjustable ceiling brackets for your curtain rod, follow these simple steps:
-
Locate the Installation Area: Determine where you want to mount your curtain rod on the ceiling. Ensure that it's a sturdy and level surface.
-
Mark Mounting Points: Use a pencil to mark the spots where you'll install the brackets. Measure and mark the locations according to your desired curtain placement and the spacing required for the brackets.
-
Install the Brackets: Using the proper hardware (screws and anchors for your ceiling), securely attach the brackets to the ceiling at the marked locations. Make sure to align them properly and ensure they are level.
-
Adjust the Drop: Before attaching the curtain rod, adjust the drop of each bracket to your desired height. Loosen the adjustable mechanism, slide the bracket to the desired position, and tighten it securely.
-
Mount the Curtain Rod: Once the brackets are securely attached and adjusted, insert the curtain rod into the brackets. Ensure that the rod sits securely within the brackets and is level.
-
Hang Curtains: With the curtain rod in place, hang your curtains onto the rod. Adjust the curtains as needed to achieve the desired look and coverage.
-
Final Touches: Double-check that everything is securely mounted and aligned. Make any necessary adjustments to ensure everything looks and functions as intended.
Congratulations! You've successfully installed your curtain rod using the adjustable ceiling brackets, adding both functionality and style to your space. Enjoy your newly dressed windows or the versatile room divider you've created.